Using T-Mobile’s Inflight Wi-Fi is a relatively straightforward process. Here’s a step-by-step guide:
- Ensure Your T-Mobile Plan is Eligible: Not all T-Mobile plans offer inflight Wi-Fi. It’s essential to verify whether your specific plan includes this feature.
- Board the Airplane: This might sound obvious, but it’s a crucial step. You need to be onboard an airplane with inflight Wi-Fi capabilities. Not all airlines provide this service, so be sure to check beforehand.
- Switch to Airplane Mode and Enable Wi-Fi: Once the flight attendant gives the go-ahead to use electronic devices, switch your phone to airplane mode, then turn on your Wi-Fi.
- Connect to the Airplane’s Wi-Fi Network: The name of the network varies depending on the airline. It’s usually something straightforward, like “Inflight Wi-Fi” or the name of the airline.
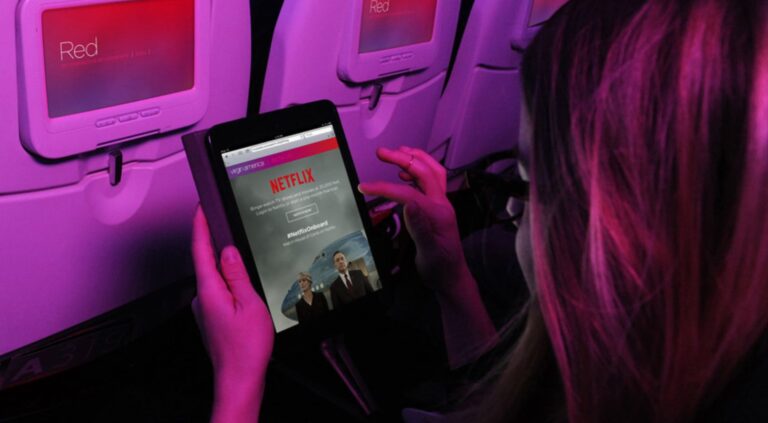
- Open Your Web Browser: Once you’re connected, open your web browser. It should redirect you to the airline’s Wi-Fi portal.
- Select the T-Mobile Free Inflight Wi-Fi Option: There should be an option for T-Mobile customers to access free inflight Wi-Fi. Click on this option.
- Enter Your T-Mobile Phone Number: You’ll need to validate that you’re a T-Mobile customer by entering your phone number. Once you’ve done this, you should have access to the inflight Wi-Fi.
- Enjoy the Wi-Fi: You’re now connected and can enjoy the inflight Wi-Fi services.
Please note that the performance of the inflight Wi-Fi will depend on the aircraft’s technology and the network’s overall congestion. Also, certain services or websites might be restricted based on the airline’s policies. As always, it’s best to check the most up-to-date information from T-Mobile and the airline you’re flying with.